Let’s be real—granola has this wholesome, “I’ve-got-my-life-together” vibe, right? And when it’s vanilla nut granola? Oh, now we’re talking next-level deliciousness. Whether you’re sprinkling it on yogurt, munching it by the handful, or even pairing it with milk like cereal, this recipe is here to make your mornings a whole lot tastier.
I’m not saying this granola will change your life, but I’m also not not saying that. So, grab a big mixing bowl, and let’s get baking (with plenty of snacking along the way).
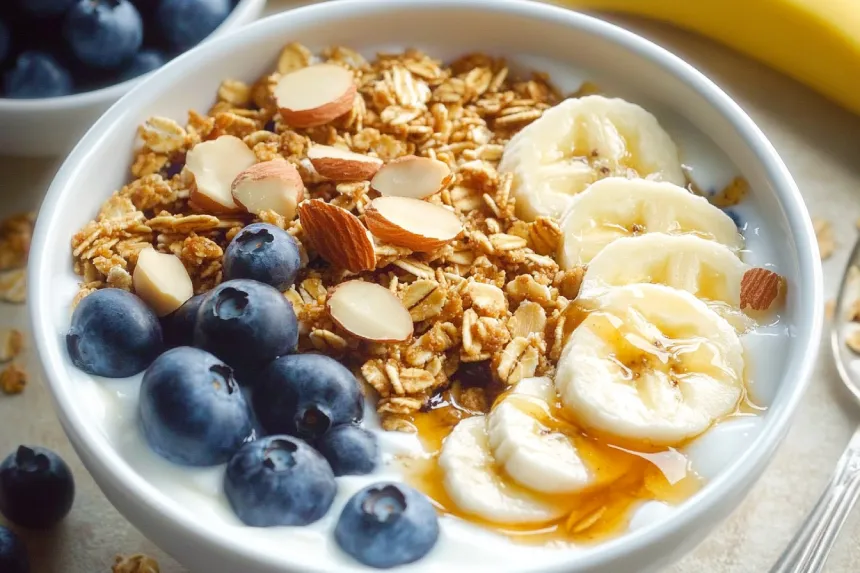
Why Make Your Own Granola?
Store-bought granola can be a total gamble. Sometimes it’s overly sweet; other times, it’s just…meh. However, making your own gives you complete control over the flavor, sweetness, and crunch. Additionally, your kitchen will smell like vanilla heaven, which is a bonus in itself.
Here’s why this vanilla nut granola recipe is worth it:
- Simple ingredients: No weird additives or crazy preservatives, so you know exactly what’s in it.
- Customizable: Moreover, you can swap in your favorite nuts or toss in some dried fruit for variety.
- Cost-effective: In fact, you’ll save money compared to those pricey store-bought options.
Making granola at home isn’t just easy—it’s totally worth it!
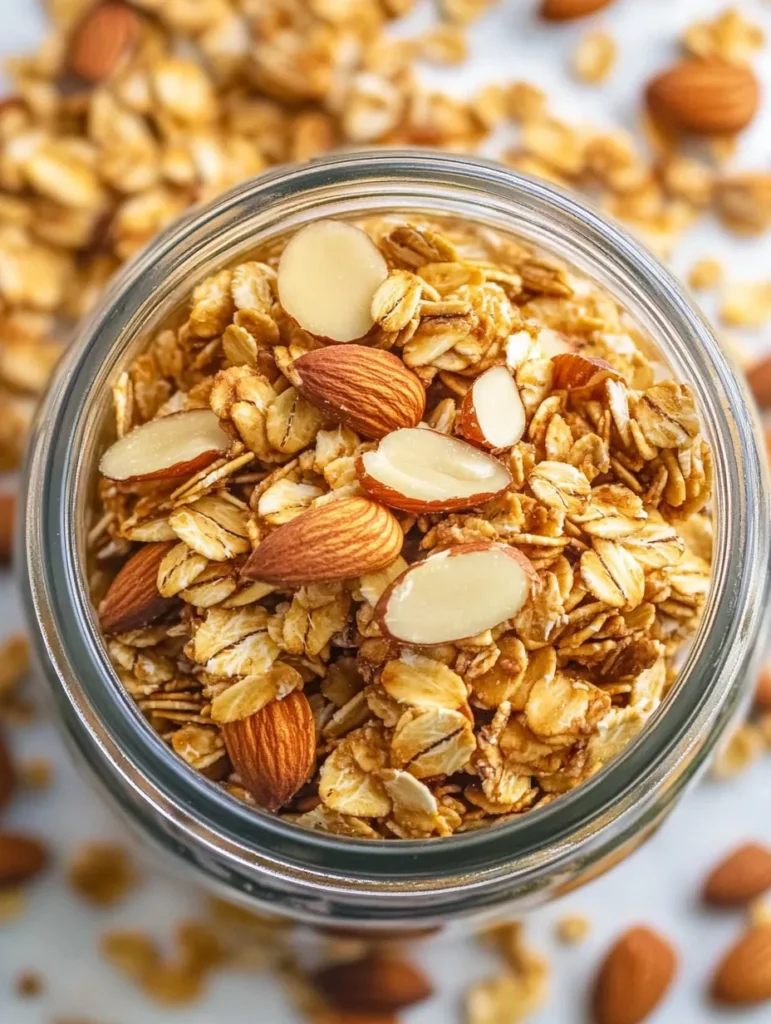
Vanilla Nut Granola Recipe: Ingredients
Alright, let’s keep it simple. Here’s your lineup:
- 3 cups rolled oats (old-fashioned, not quick oats!)
- 1 cup mixed nuts (almonds, pecans, and walnuts are my go-to)
- 1/2 cup shredded coconut (optional, but adds great texture)
- 1/3 cup maple syrup (honey works too if that’s more your style)
- 1/4 cup brown sugar (for a caramel-like sweetness)
- 1/4 cup coconut oil (melted butter works too!)
- 2 tsp vanilla extract (don’t skimp—this is the star!)
- 1/2 tsp cinnamon (optional but cozy and perfect)
- 1/4 tsp salt (trust me, it balances the sweetness)
Step-by-Step Instructions
1: Prep Like a Pro
Preheat your oven to 325°F and line a large baking sheet with parchment paper. This prevents sticking and makes cleanup a breeze—because, honestly, who has time to scrub pans?
2: Mix the Dry Ingredients
In a large bowl, toss together the oats, nuts, coconut, cinnamon, and salt. This is your base, so feel free to customize it with whatever you love. Cashews? Pumpkin seeds? Heck yes.
3: Whip Up the Wet Ingredients
In a smaller bowl, whisk together the melted coconut oil, maple syrup, brown sugar, and vanilla extract. Don’t rush this step—make sure the sugar dissolves a bit for an even coating later.
4: Combine It All
Pour the wet ingredients over the dry and stir like you mean it. Every oat and nut should get a nice shiny coating. (This is where the magic happens!)
5: Spread and Bake
Spread the mixture evenly onto your prepared baking sheet. Bake for 25–30 minutes, stirring halfway through to make sure even toasting.
Pro tip: Keep an eye on it! Granola can go from golden to burnt faster than you’d think.
6: Cool and Add Final Touches
Let the granola cool completely on the baking sheet. It’ll crisp up as it cools—that’s when you know it’s ready. If you’re feeling fancy, now’s the time to mix in some extras like chocolate chips, dried fruit, or even chia seeds.
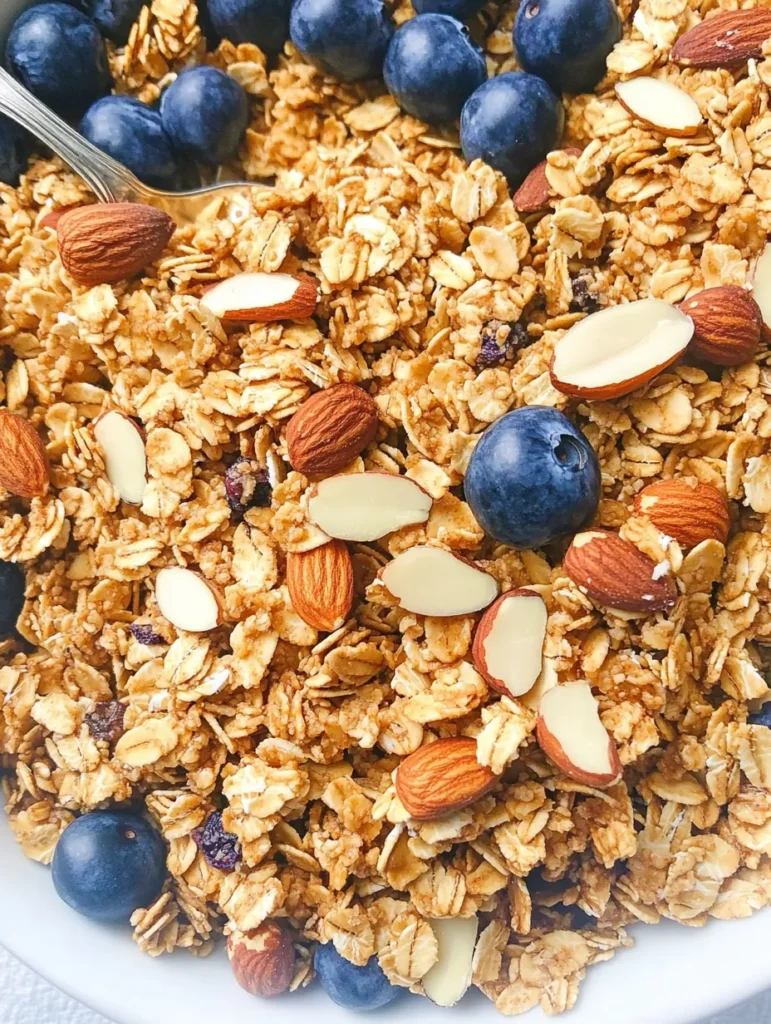
How to Enjoy Your Vanilla Nut Granola
There are so many ways to enjoy this vanilla nut granola. Moreover, it’s versatile enough to work for breakfast, snacks, or even dessert.
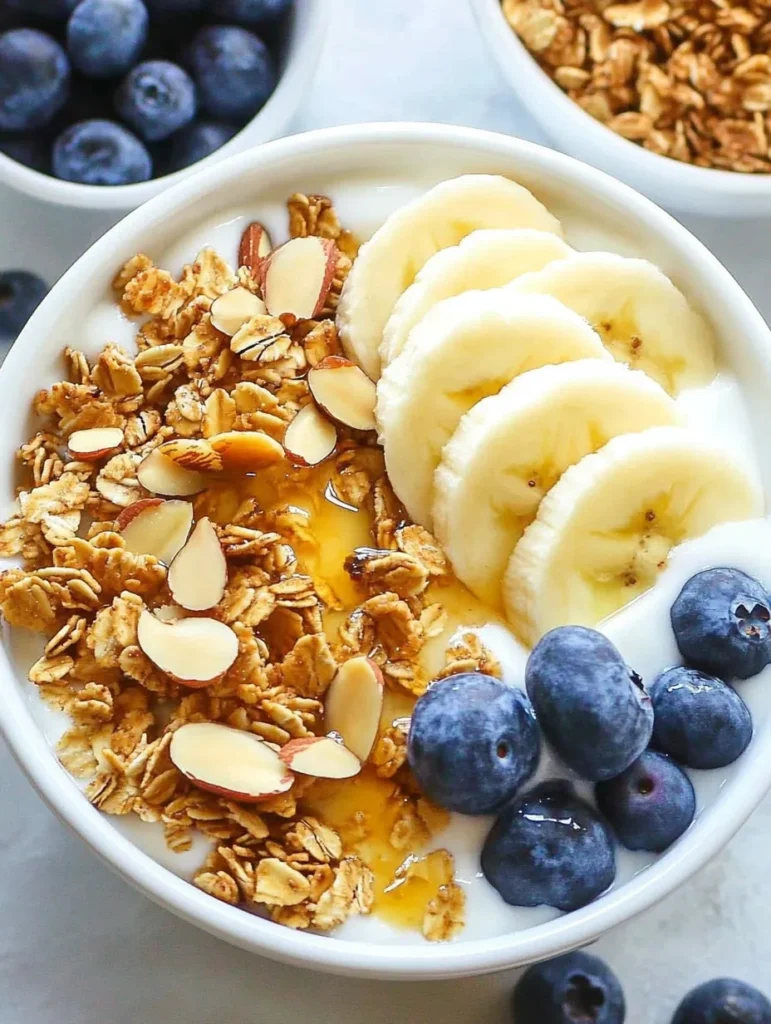
- Classic Breakfast: Serve it over yogurt with fresh berries for a simple yet satisfying start to your day.
- Cereal Style: Add milk—or almond milk, for a nutty vibe—and enjoy it as a crunchy, wholesome cereal.
- On-the-Go Snack: Additionally, toss some in a baggie for a quick and portable snack that’s perfect anytime.
- Dessert Hack: In fact, sprinkling it over vanilla ice cream creates a sweet and crunchy treat that’s totally irresistible.
However you choose to enjoy it, this granola is sure to hit the spot!
Tips for the Best Granola Ever
- Use Quality Vanilla: Cheap vanilla doesn’t cut it. If you can splurge on pure vanilla extract, do it.
- Don’t Skip the Stirring: Stirring halfway guarantees an even bake. Nobody wants burnt nuts.
- Cool Completely: Warm granola might seem soft, but patience pays off—it crisps as it cools.
- Store It Right: Keep your granola in an airtight container for up to two weeks. (Though let’s be honest, it won’t last that long.)
Why This Recipe Works
There’s something so satisfying about making your own granola. It’s like bottling up sunshine and good vibes in a jar. Moreover, the balance of sweetness from the maple syrup and richness from the coconut oil makes this recipe a winner every time.
Additionally, the vanilla adds that warm, comforting flavor we all crave—like a hug in granola form. In fact, it’s the ingredient that ties everything together, making each bite irresistibly delicious.
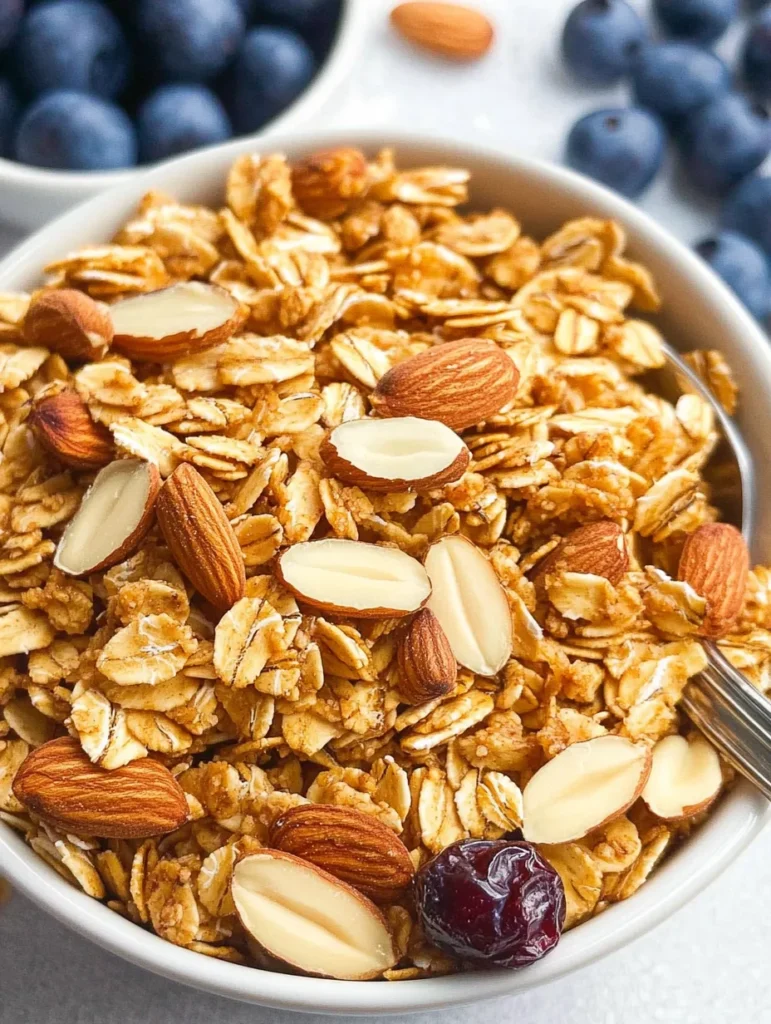
The Secret to That Perfect Vanilla Flavor
Let’s take a moment to talk about the vanilla in this vanilla nut granola recipe. It’s the MVP that ties everything together. Moreover, the warm, aromatic sweetness of vanilla perfectly balances the richness of the nuts and the earthy oats.
If you really want to make your granola shine, go for pure vanilla extract instead of the artificial stuff. In fact, investing in high-quality vanilla makes a noticeable difference. Additionally, some folks opt for vanilla bean paste for a more concentrated flavor—now that’s a treat. However, if vanilla bean paste isn’t available, pure extract will still work wonders.
Choosing the Right Nuts for Your Granola
Not all nuts are created equal when it comes to granola. Almonds bring crunch, pecans add a buttery vibe, and walnuts pack an earthy depth. Moreover, if you’re feeling adventurous, hazelnuts or macadamia nuts can offer a delightful twist.
Baking the nuts with the granola makes them all develop that golden crunchiness which is almost addictively over the top. And if you want softer nuts or prefer keeping their natural oils intact, you can just toss them in later after baking. It also creates a blend in flavor and texture with different types of nuts, making every bite even more interesting. Experimenting through all the combinations can lead to the perfect mix for some.
Make It Your Own: Granola Add-Ins
When you have mastered this basic nut granola recipe, there is really no limit to what kinds of variations you will be able to make. For example, cranberries or apricots will be very nice and chewy if that’s what you’re craving. You might add pumpkin seeds or sunflower seeds for an extra crunch.
You can really take your granola to an entirely new level by adding chocolate chips, coconut flakes, or even a little dash of espresso powder to really give it a kick. In fact, these small tweaks can make an entirely different recipe out of this and keep it new every time. Just, of course, don’t overdo it with additives because they may drown out your vanilla flavor.
Is Granola Healthy? Let’s Break It Down
One of the great things about making your own granola is that you control the ingredients. Unlike some store-bought options that can be sugar bombs, this recipe keeps things balanced with natural sweeteners like maple syrup and brown sugar. Plus, the healthy fats from nuts and oats provide sustained energy. Just remember, portion control is key—it’s easy to go overboard when it tastes this good!
How to Gift Homemade Granola
Homemade granola isn’t just for you. It makes an incredible gift too. Of course, it’s a very thoughtful way to share homemade, heartfelt goodness with others. Just pack it in mason jars, tie a ribbon around the top, and attach a cute tag with the recipe or serving suggestions for that personal touch.
You know, granola is a great gift for any time-from the birthday to the holidays to just because. This makes it easily customizable, so you can make each batch according to the recipient’s taste. Just remember to double that recipe! Just imagine how fantastic it turns out-isn’t it impossible to keep it all for yourself?
Why Your Kitchen Will Thank You
Making vanilla nut granola at home is about more than just having a tasty snack. Moreover, the process is soothing and can feel like a therapeutic break from the day. Additionally, your kitchen will smell incredible—like a cozy bakery that’s right in your own home.
In fact, the warm, comforting aroma of vanilla and toasted nuts alone is reason enough to give this recipe a try. However, the best part might just be the satisfaction of reaching into a jar of granola that you made with your own two hands. It’s a small thing, but it’s undeniably rewarding.
FAQs About Vanilla Nut Granola
What Ingredient Makes Granola Stick Together?
Sticky ingredients like honey, maple syrup, or brown sugar bind granola together. Pressing it down on the baking sheet before baking and avoiding too much stirring afterward helps create those crunchy clusters.
Why Is Homemade Granola Not Crunchy?
Granola might not crunch if the oven temperature is too low, there’s too much moisture, or it’s not cooled properly. Bake at 325°F, use the right liquid ratio, and let it cool fully for that perfect crisp.
Is Vanilla Granola Healthy?
Yes, vanilla granola can be healthy when made with whole oats, nuts, and natural sweeteners. It’s nutrient-dense, but because it’s calorie-rich, portion control is important. Pair it with yogurt or fruit for balance.
Why Is Granola So High in Sugar?
Most types of granola that are available at stores have certain added sugars for a bit of flavor. When making granola at home, you get to control the sweetness with sweeteners of one\’s choosing, such as maple syrup or dried fruits, thus eliminating the excessive sugar intake.
Final Thoughts on Vanilla Nut Granola Recipe
Whether you’re a meal-prep guru or someone who just loves a good snack (hi, same), this vanilla nut granola recipe checks all the boxes. Moreover, it’s incredibly easy to make, endlessly customizable, and tastes ridiculously good every single time.
In concordance with the process, it’s in itself such blissful experience that you feel to be like very professional in the kitchen. In fact, after making it from home, you will not want to resort back to store-bought granola. But take caution: this stuff is indeed too addictive so maybe you want to double the recipe!
Then what are you waiting for? Get a bowl, make a batch and let your kitchen perfumed in the cozy smell of a bakery. So bright your mornings are now.
