Have you ever bitten into a warm piece of toast with homemade jelly and thought, “This is pure happiness in food form”? If not, I promise this plum jelly recipe will change that. There’s something about that mix of tart and sweet flavors that, without a doubt, transforms a simple breakfast or snack moment. Moreover, making Plum jelly at home is easier than you think and, dare I say, kind of fun!
Plum jelly is one of those recipes that feels fancy but doesn’t require a culinary degree to whip up. Whether you’ve got a backyard tree bursting with fruit or you’re eyeing the plums at the farmer’s market, this recipe will, in no time, transform them into a delicious treat you’ll want to spread on everything.
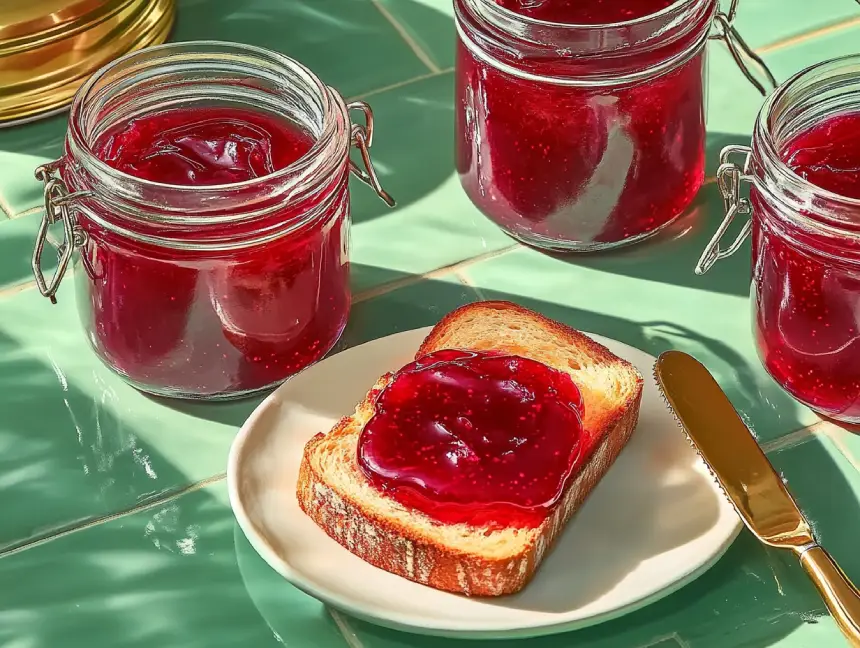
Why Choose Plum Jelly?
Why choose plums? There’re tons of other fruits for jelly-making, that’s true, but listen to me:
- Plums are underrated. People often go for strawberries or grapes, but plums bring a unique balance of sweet and tangy.
- They’re super juicy. That means more natural flavor and less hassle when extracting juice.
- They pair well with other flavors. You can customize plum jelly in so many ways—think vanilla, cinnamon, or even a splash of bourbon for a grown-up twist!
Indeed, there is nostalgia in homemade jelly. In fact, something about the process-from cooking down the fruit to popping those jars-seems to envelop like a warm hug from an earlier time. The entire process has an element of tie to tradition, making it particularly significant.
What You’ll Need for Plum jelly recipe
First things first—let’s talk about the essentials. You don’t need a fancy setup, but having the right tools and ingredients will make the process smooth (and way less stressful).
Ingredients
- 4 lbs of ripe plums – Look for plums that are juicy and soft but not mushy.
- 7 cups of sugar – Yep, jelly is unapologetically sweet.
- 1 packet of liquid pectin – This helps your jelly set perfectly.
- ½ cup of water – Just enough to help the plums release their juices.
Equipment
- Large pot – Go big to avoid sticky splatters on your stovetop.
- Cheesecloth or jelly bag – This is key for straining the juice.
- Sterilized jars and lids – Clean them thoroughly to avoid any funky bacteria.
- Jar funnel and ladle – These make transferring the hot jelly into jars way easier.
- Water bath canner – Not 100% necessary, but it guarantees your jars are sealed and shelf-stable.
Step-by-Step Plum Jelly Recipe
We can just slice it into stress-free steps that make it very simple. Seriously, you can do this!
1. Prep the Plums
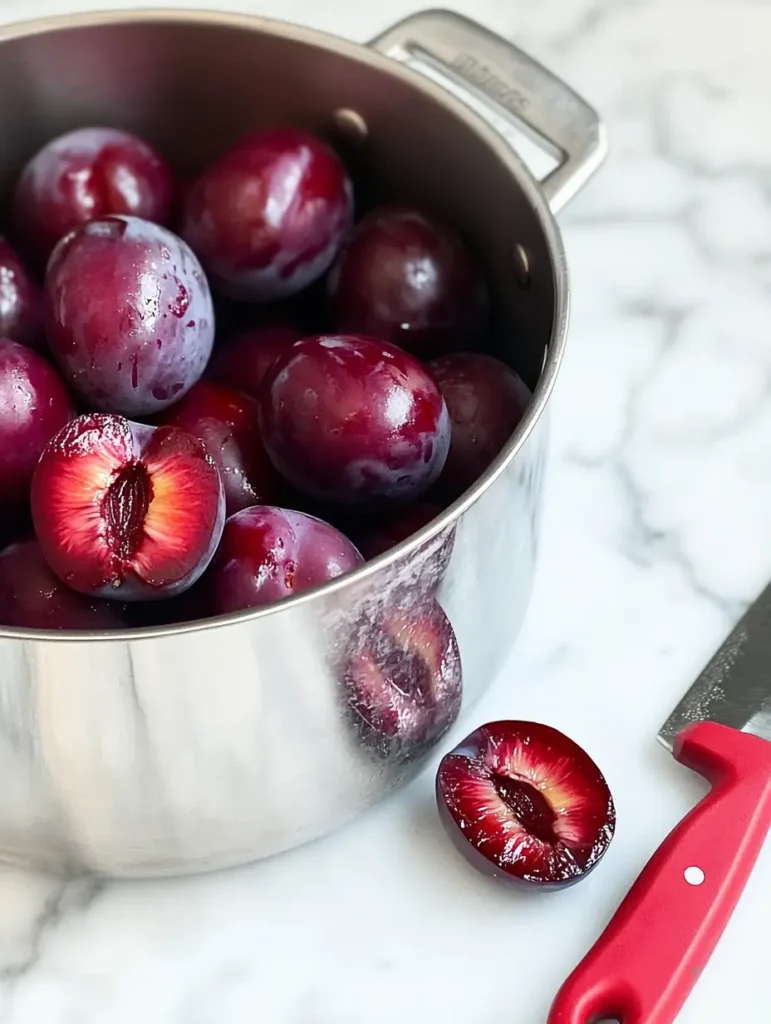
Start by washing your plums under cold water. Give them a little scrub if needed because no one wants dirt or debris in their jelly. Then, slice them in half and remove the pits. Don’t worry about peeling them—the skins add extra flavor and color to your jelly.
2. Cook Down the Fruit
Toss your halved plums into a large pot and add the ½ cup of water. Bring it to a gentle simmer over medium heat, stirring occasionally. In about 15–20 minutes, you’ll notice the fruit softening and breaking down into a fragrant, juicy mess. That’s exactly what you want!
3. Strain the Juice
Here comes the slightly messy but oh-so-satisfying part. Pour the cooked plum mixture into a cheesecloth or jelly bag set over a large bowl. Let gravity do its thing, and allow the juice to drip through for at least a couple of hours—overnight is even better if you can wait.
Pro tip: Resist the urge to squeeze the bag! I know it’s tempting, but squeezing can push through pulp and make your jelly cloudy.
4. Sweeten the Juice
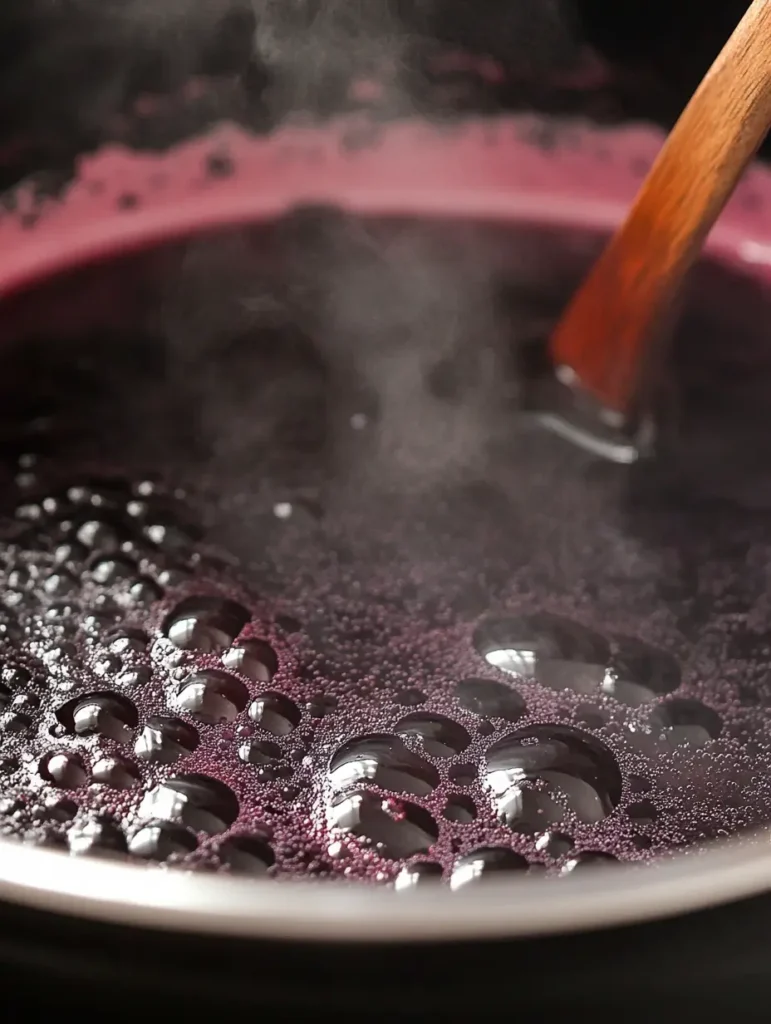
Measure out 4 cups of the strained plum juice and pour it back into a clean pot. Add the sugar and stir well. Bring the mixture to a boil over medium-high heat, stirring occasionally to dissolve the sugar. Once it’s boiling, you’ll start to see the magic happen—the juice thickens and takes on a glossy sheen.
5. Add the Pectin
When the juice hits a rolling boil (the kind that doesn’t calm down even when you stir), it’s time to add the liquid pectin. Stir it in quickly and let it boil for 1 more minute. This step is crucial for getting that perfect jelly consistency.
6. Skim the Foam
After boiling, you might notice some foam on top of the jelly. Use a spoon to skim it off—this helps your finished jars look picture-perfect.
7. Fill the Jars
Using a ladle and funnel, carefully pour the hot jelly into your sterilized jars. Leave about ¼ inch of space at the top (this is called headspace). Wipe the rims clean, place the lids on, and screw them tight.
8. Process in a Water Bath
Boil the water bath for about 10 minutes to preserve your jelly in a jar. The procedure is not necessary for the refrigerator, but it is essential for storing at room temperature.
9. Cool and Wait
Next remove the jars from the water bath, placing them on a towel, and leave them undisturbed for 24 hours. The cooling period will then allow you to enjoy those beautiful “pops” associated with lids sealing, which is honestly one of the best sounds!
Tips and Tricks for Success
Making jelly isn’t rocket science, but a few extra tips never hurt:
- Pick the best plums. The riper they are, the better your jelly will taste.
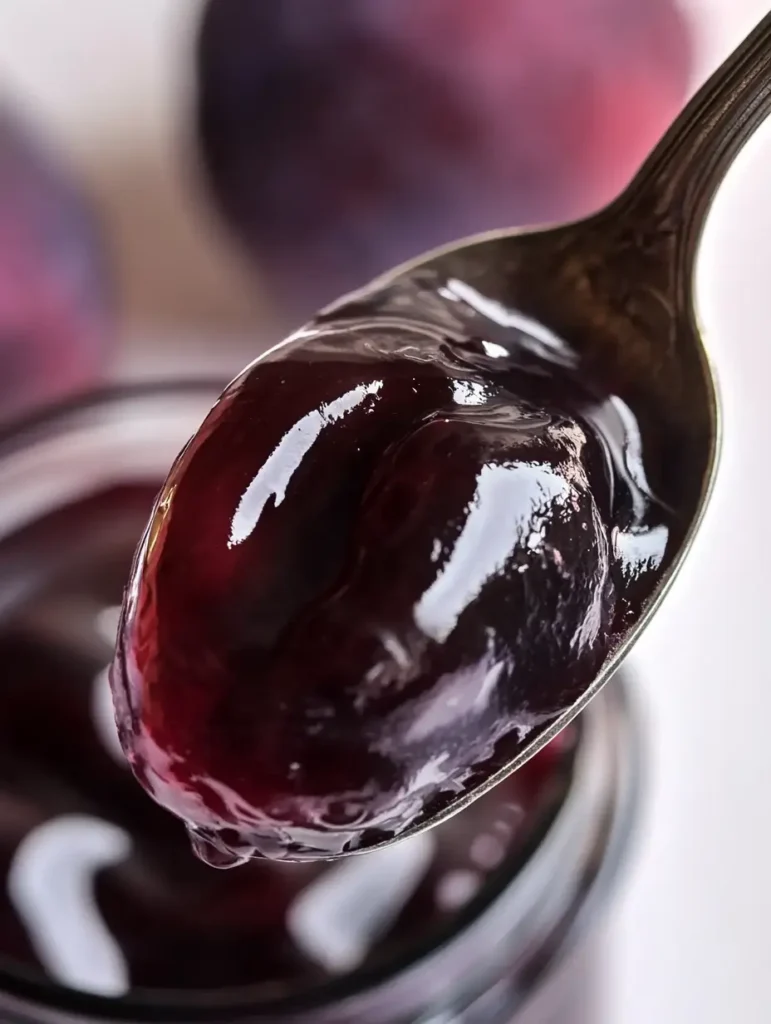
- Test for doneness. If you’re concerned about jellies really gelling, use the plate test. Spoon some jelly onto a cold plate and let it cool for a minute. If poked with a finger, it wrinkles, then it’s ready!
- Experiment with flavors. An infusion of vanilla extract, a sprinkle of cinnamon, or maybe, just a bit of minced ginger will add a personal touch to your jelly.
How to Enjoy Your Plum Jelly
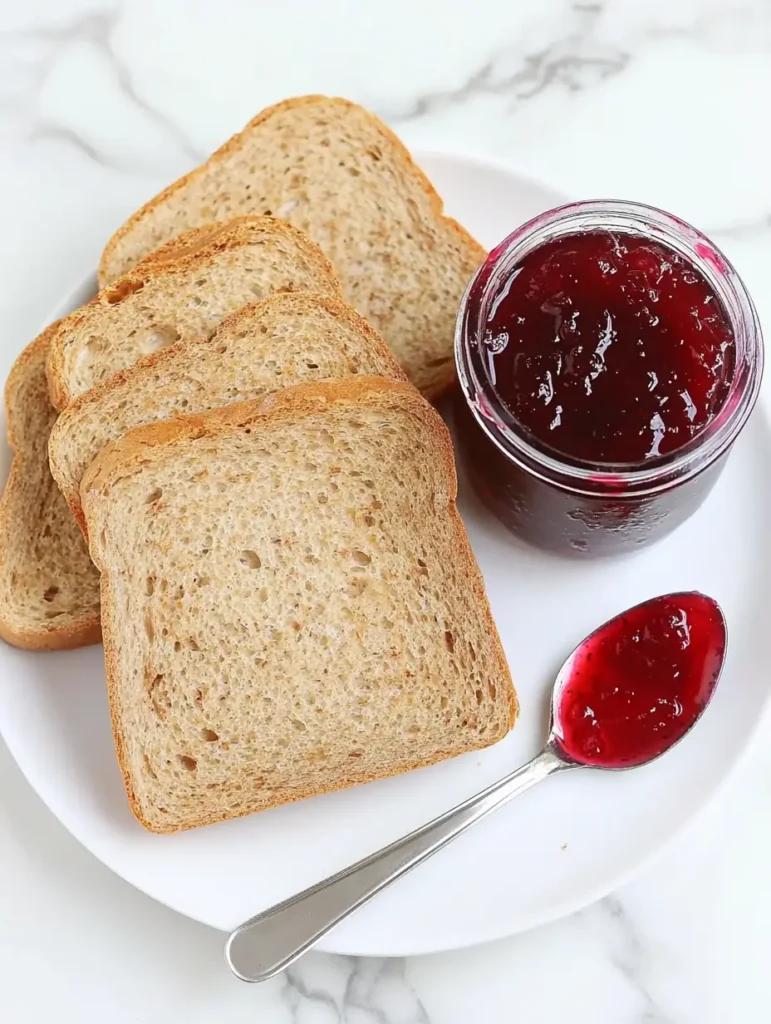
The obvious answer here is: on toast. But let’s get creative!
- Breakfast boost: Spread it on warm biscuits, waffles, or pancakes.
- PB&J upgrade: Slather it on with peanut butter for a next-level sandwich.
- Savory pairings: Use it as a glaze for roasted chicken or pork chops.
- Charcuterie boards: Pair it with cheeses like brie or goat cheese for a gourmet snack.
And if you’re feeling fancy, add a dollop to plain yogurt or oatmeal—it’s a simple way to make everyday breakfasts feel special.
Plum jelly recipe: Variations to Try
If you’ve mastered the basic recipe, why not branch out?
- Spiced Plum Jelly: Add cinnamon sticks and cloves to the juice while it simmers.
- Plum-Lavender Jelly: Infuse the juice with dried lavender for a floral twist.
- Plum and Berry Jelly: Mix in raspberries or blackberries for extra depth.
For another variation, check out our Peach Jelly recipe—it’s a delightful twist on traditional jelly that’s sure to impress!
Storing and Giving Plum jelly as Gifts
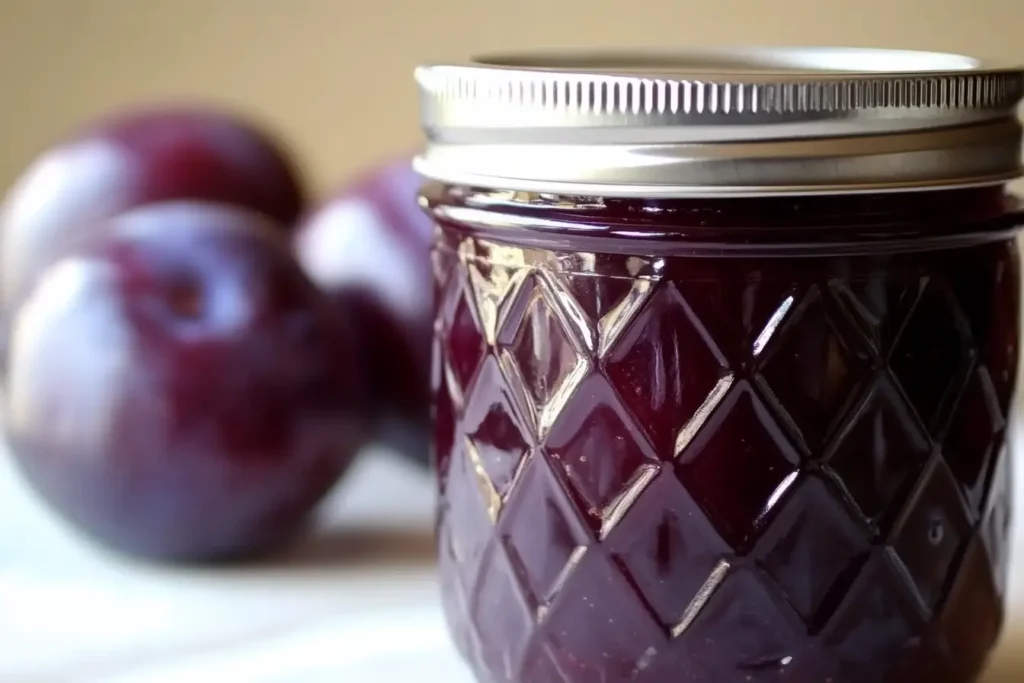
Once your jelly is sealed and set, store it in a cool, dark place. Properly sealed jars can last up to a year (though let’s be real—it probably won’t last that long).
Homemade jelly also makes an amazing gift. Dress up your jars with cute labels, a ribbon, and maybe a little note about how you made it. People go nuts for thoughtful, homemade goodies!
FAQs about Plum jelly recipe
What’s the Difference Between Plum Jam and Jelly?
But instead, the most crucial difference is in its texture and making:
- Plum Jam is made using the whole fruit, including the pulp. It has a chunkier texture and often includes small bits of plum, making it more rustic and hearty.
- Plum Jelly is made by straining the cooked fruit to extract only the juice. It’s smooth, clear, and has a more refined consistency.
Both are delicious, but if you prefer a silky texture and a polished look, jelly is the way to go. For those who love a more robust and fruit-forward experience, jam is your best bet.
How Long Does Homemade Plum Jelly Last?
If stored properly in sterilized, sealed jars:
- Shelf Life: Plum jelly can last up to 12 months in a cool, dark pantry. Over time, the flavor may mellow, so it’s best enjoyed within the first year.
- Once Opened: Once you pop the seal, refrigerate the jar and use it within 3–4 weeks for the best taste and freshness.
Always check for signs of spoilage like mold, off smells, or changes in texture before consuming.
Do Plums Have High Pectin?
Plums naturally contain moderate amounts of pectin, especially if they’re slightly underripe. Pectin is the natural substance that helps jams and jellies thicken.
- Underripe plums have higher pectin content, which can help your jelly set without much added pectin.
- Ripe or overripe plums have less pectin, so adding commercial pectin is usually necessary to achieve the right consistency.
If you’re going the all-natural route, you can combine plums with high-pectin fruits like apples or citrus for better results.
How Do You Get the Pits Out of Plums for Jam?
Removing pits might seem tedious, but there are a few easy ways to do it:
- Cut and Twist: Slice the plum in half along its seam and twist the halves apart. Use a small knife or your fingers to remove the pit. This works best for freestone plums (where the pit easily separates).
- Spoon Method: For clingstone plums (where the pit sticks), slice the plum in half and use a spoon to scoop out the pit.
- Cook and Strain: If you’re making jelly or a smooth jam, you can cook the plums with the pits and strain the mixture through a fine sieve or cheesecloth afterward. The pits will stay behind, and you’ll get a smooth puree or juice.
Pro tip: Don’t toss the pits—they can infuse syrups or liquor with a subtle almond flavor, thanks to the amygdalin. Just be careful not to crush them, as that releases bitter compounds. This is also a great way to use every part of the fruit, reducing waste.
Why You’ll Love Making Plum jelly
Indeed, one may think that making Plum jelly is one of the innumerable activities of grandmothers. Indeed, once you taste the homemade jelly, there’s no looking back again. The flavor, freshness, and amount of customs in it have no comparison with what one would get at the local grocery store. Besides, it gives that sense of enjoyment to open a jar that was made by oneself.
Be it by canning your summer produce or simply engaging in something amusing on the weekend, this calls it right here: plum jelly. This is as easy as it is rewarding—oh, and seriously tasty. What are you waiting for? Go grab those plums and start cooking-experience later breakfasts (and snacks!) thanking you for it.
PrintPlum Jelly: A Sweet Treat You’ll Love
making Plum jelly at home is easier than you think and, dare I say, kind of fun!
- Prep Time: 20 minutes
- Cook Time: 45 minutes
- Total Time: 1 hour 5 minutes
- Yield: 3–4 jars (depending on the size of jars) 1x
- Category: breakfast
- Method: Stovetop / Canning
- Cuisine: American
Ingredients
Ingredients
- 4 lbs of ripe plums – Look for plums that are juicy and soft but not mushy.
- 7 cups of sugar – Yep, jelly is unapologetically sweet.
- 1 packet of liquid pectin – This helps your jelly set perfectly.
- ½ cup of water – Just enough to help the plums release their juices.
Equipment
- Large pot – Go big to avoid sticky splatters on your stovetop.
- Cheesecloth or jelly bag – This is key for straining the juice.
- Sterilized jars and lids – Clean them thoroughly to avoid any funky bacteria.
- Jar funnel and ladle – These make transferring the hot jelly into jars way easier.
- Water bath canner – Not 100% necessary, but it guarantees your jars are sealed and shelf-stable.
Instructions
1. Prep the Plums
Start by washing your plums under cold water. Give them a little scrub if needed because no one wants dirt or debris in their jelly. Then, slice them in half and remove the pits. Don’t worry about peeling them—the skins add extra flavor and color to your jelly.
2. Cook Down the Fruit
Toss your halved plums into a large pot and add the ½ cup of water. Bring it to a gentle simmer over medium heat, stirring occasionally. In about 15–20 minutes, you’ll notice the fruit softening and breaking down into a fragrant, juicy mess. That’s exactly what you want!
3. Strain the Juice
Here comes the slightly messy but oh-so-satisfying part. Pour the cooked plum mixture into a cheesecloth or jelly bag set over a large bowl. Let gravity do its thing, and allow the juice to drip through for at least a couple of hours—overnight is even better if you can wait.
Pro tip: Resist the urge to squeeze the bag! I know it’s tempting, but squeezing can push through pulp and make your jelly cloudy.
4. Sweeten the Juice
Measure out 4 cups of the strained plum juice and pour it back into a clean pot. Add the sugar and stir well. Bring the mixture to a boil over medium high heat, stirring occasionally to dissolve the sugar. Once it’s boiling, you’ll start to see the magic happen—the juice thickens and takes on a glossy sheen.
5. Add the Pectin
When the juice hits a rolling boil (the kind that doesn’t calm down even when you stir), it’s time to add the liquid pectin. Stir it in quickly and let it boil for 1 more minute. This step is crucial for getting that perfect jelly consistency.
6. Skim the Foam
After boiling, you might notice some foam on top of the jelly. Use a spoon to skim it off—this helps your finished jars look picture-perfect.
7. Fill the Jars
Using a ladle and funnel, carefully pour the hot jelly into your sterilized jars. Leave about ¼ inch of space at the top (this is called headspace). Wipe the rims clean, place the lids on, and screw them tight.
8. Process in a Water Bath
Boil the water bath for about 10 minutes to preserve your jelly in a jar. The procedure is not necessary for the refrigerator, but it is essential for storing at room temperature.
9. Cool and Wait
Next remove the jars from the water bath, placing them on a towel, and leave them undisturbed for 24 hours. The cooling period will then allow you to enjoy those beautiful “pops” associated with lids sealing, which is honestly one of the best sounds!
Notes
- Pick the best plums. The riper they are, the better your jelly will taste.
- Test for doneness. If you’re concerned about jellies really gelling, use the plate test. Spoon some jelly onto a cold plate and let it cool for a minute. If poked with a finger, it wrinkles, then it’s ready!
- Experiment with flavors. An infusion of vanilla extract, a sprinkle of cinnamon, or maybe, just a bit of minced ginger will add a personal touch to your jelly.
Nutrition
- Serving Size: 1 tablespoon
- Calories: 50
- Sugar: 12g
- Carbohydrates: 13g
- Fiber: 1g
Keywords: Plum Jelly, Plum Jelly recipe


2 thoughts on “Plum Jelly”