Have you been dreaming of an effortless dessert that melts in your mouth and fulfills every sweet craving? Look no further – peanut butter fudge made with just three simple ingredients is here! Whether it’s time for a party, midnight snacks or simply needing something no-bake and foolproof this recipe has your back covered.
Let’s get into all the delicious details, plus tips, tricks, and FAQs so you can whip up this fudge like a pro.
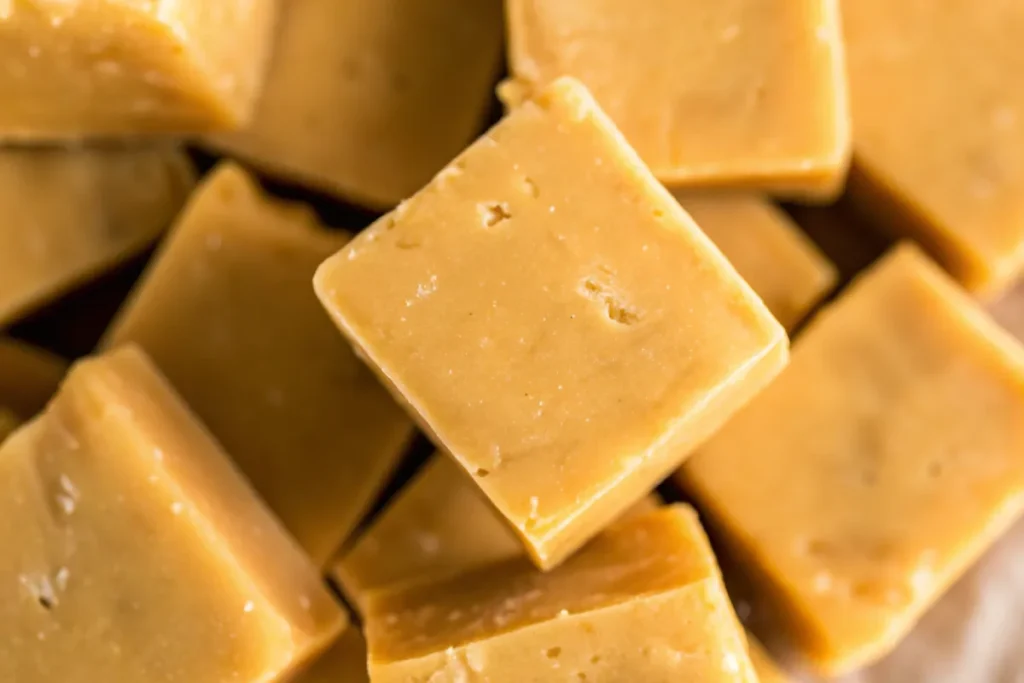
Why 3-Ingredient Peanut Butter Fudge Is a Game-Changer
Okay, hear me out. A lot of fudge recipes require candy thermometers, double boilers, and what feels like a chemistry degree. But not this one. This fudge skips all the hard stuff and gets straight to the good part: eating! You only need three ingredients, no fancy gadgets, and about 10 minutes of hands-on time. Seriously, even kids could make this (with a little supervision, of course).
Ingredients You’ll Need
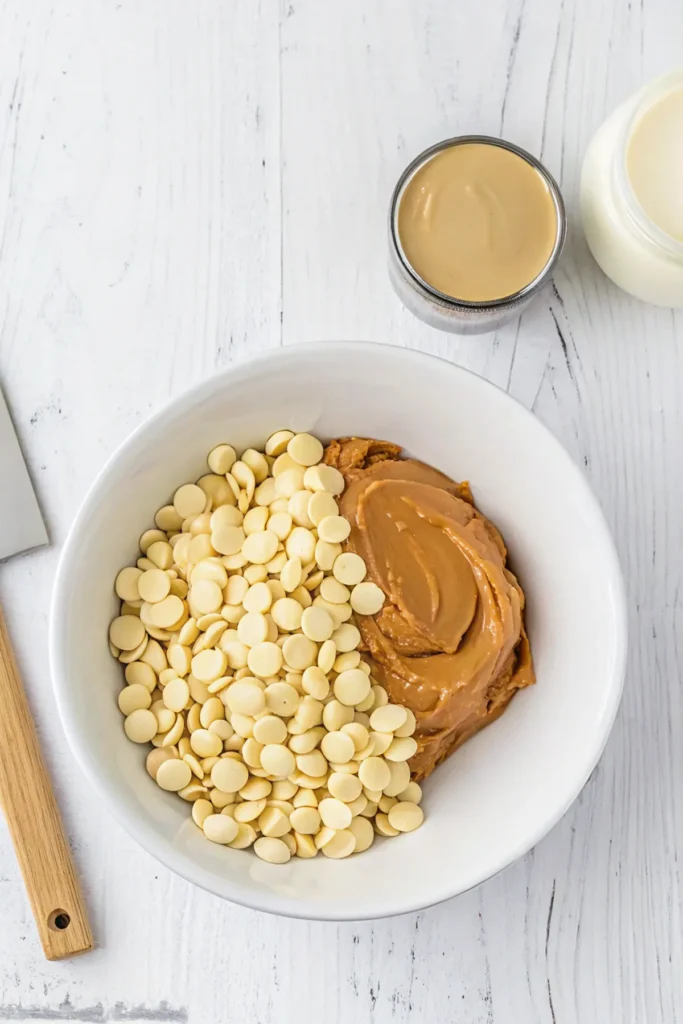
Here’s the magic trio:
- Peanut Butter: Creamy peanut butter works best here. It gives the fudge that rich, nutty flavor and smooth texture. Natural peanut butter can work too, but you might need to adjust the sweetness.
- Sweetened Condensed Milk: This is your secret weapon. It adds sweetness and helps the fudge set perfectly without a ton of extra work.
- White Chocolate Chips: These melt down beautifully and blend seamlessly with the other ingredients to give your fudge structure and flavor.
How to Make 3-Ingredient Peanut Butter Fudge
Making this fudge is as easy as 1-2-3 (literally). Here’s the step-by-step breakdown:
- Melt the Ingredients
Combine the white chocolate chips with sweetened condensed milk in a microwave at 20-second intervals, stirring between each, until your mixture is smooth and fully melted. - Add the Peanut Butter
Stir in the peanut butter while the mixture is still warm. Keep mixing until everything is fully combined, and you’re left with a creamy, luscious batter. - Pour and Chill
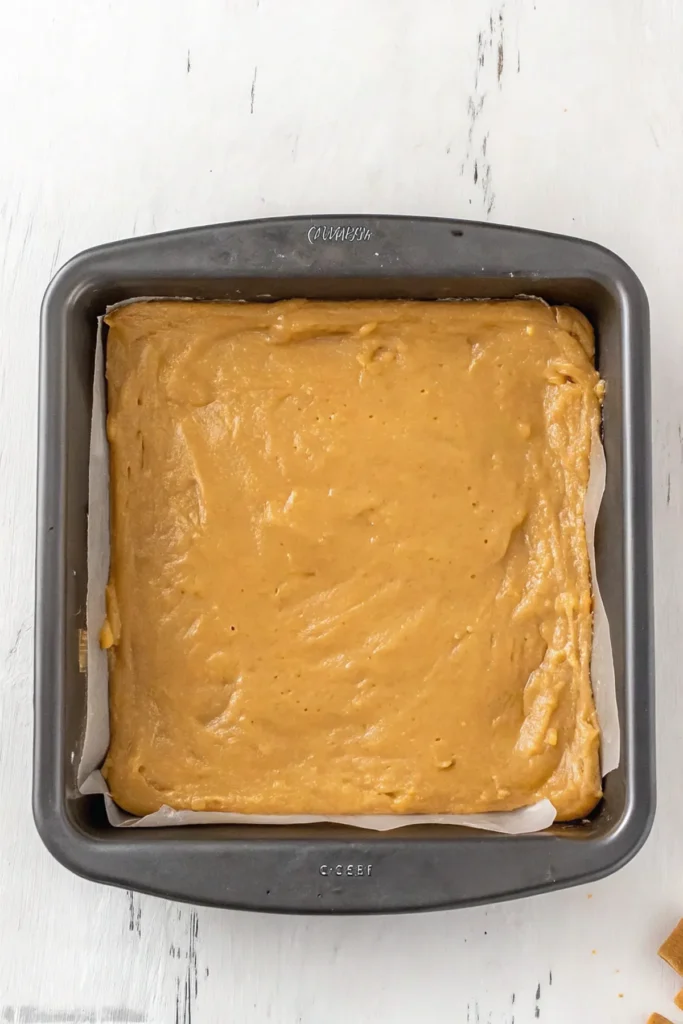
Pour the mixture into a baking dish. Smooth the top with a spatula, then pop it in the fridge for at least 2 hours to set. - Slice and Serve
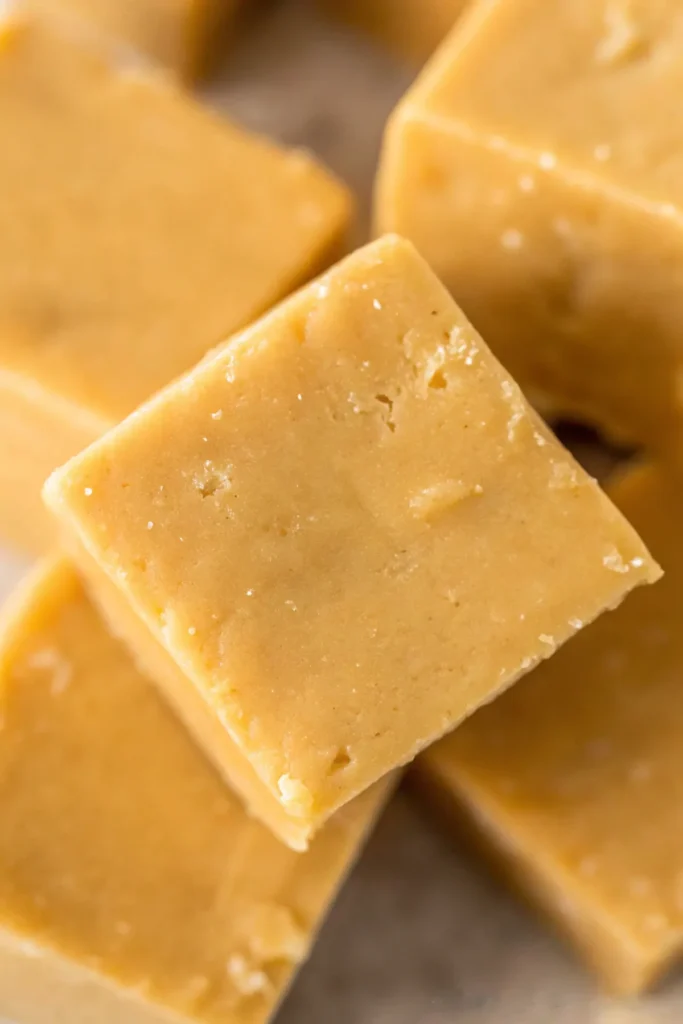
Once the fudge is firm, lift it out of the dish using the parchment paper, slice it into squares, and dig in!
Pro Tips for Perfect Peanut Butter Fudge
- Use Fresh Peanut Butter: Stale peanut butter can affect the flavor. Go for a jar that’s recently opened for the best taste.
- Don’t Overheat: When melting the chocolate and condensed milk, low and slow is key. Overheating can cause the mixture to seize up.
- Line Your Pan: Trust me, lining your dish with parchment paper makes cleanup a breeze. Plus, it’s so much easier to lift the fudge out for slicing.
Variations to Try
Want to jazz up your fudge? Here are some fun twists to experiment with:
- Add Toppings: Sprinkle chopped nuts, mini chocolate chips, or flaky sea salt on top before chilling.
- Swirl in Chocolate: Add a layer of melted dark chocolate for a peanut butter cup vibe.
- Mix in Extras: Stir in crushed pretzels, marshmallows, or even a handful of Reese’s Pieces for some extra texture.
For more dessert inspiration, check out our Dessert Recipes for even more delicious ideas!
Why This Recipe Works for Everyone
This fudge is like the little black dress of desserts—it’s perfect for every occasion. Need a quick holiday treat? Check. Want to impress guests without breaking a sweat? Double-check. Even if you’re not much of a baker, this recipe makes you look like a pro.
Homemade fudge is sure to satisfy everyone, no matter their tastes! Everyone appreciates its creamy peanutty goodness – rich without being too heavy, yet sweet enough to satisfy sugar cravings!
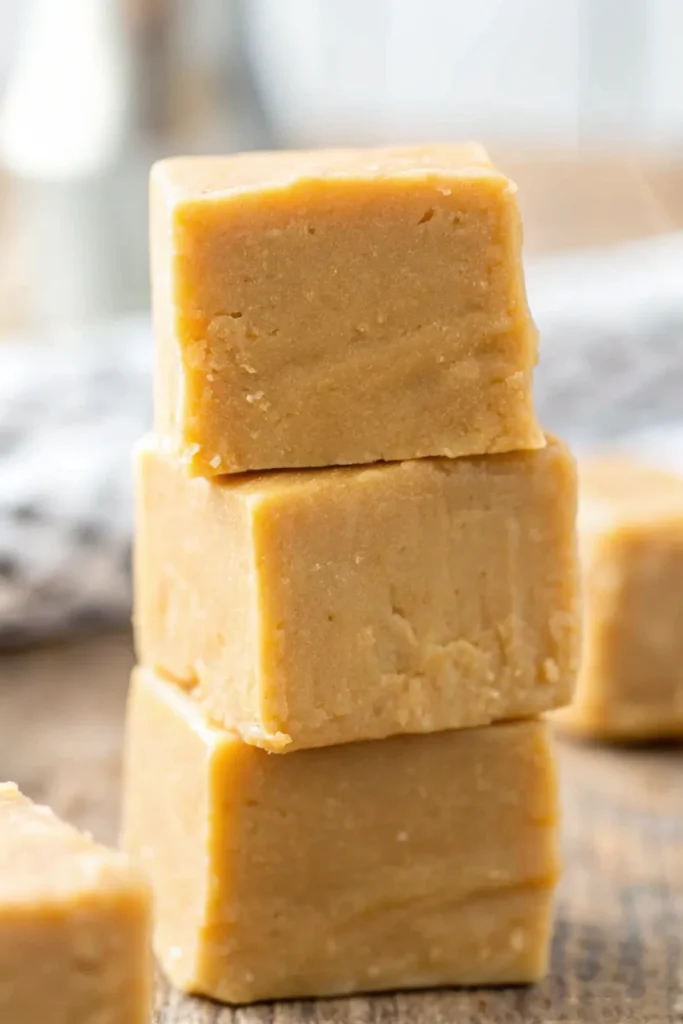
A Little Storytime: My First Attempt
First time I made this dish was during a last-minute potluck (oops! I forgot!) and needed something quick. With peanut butter, sweetened condensed milk, and white chocolate chips already available in my pantry, it made for a fantastic last-minute treat that people raved about like I’d spent hours making it! One friend even asked if it came from an expensive candy shop!
Quick Cleanup Hack
Cleaning up after making fudge doesn’t need to be a laborious task. To make things simpler, grab a silicone spatula and use it to scrape every last drop of mixture out of the bowl – not only will this ensure less waste but it will leave you with more delicious treats to indulge in – no one wants any left behind! Silicone spatulas are perfect because they glide smoothly along the sides of the bowl, collecting every drop. Plus, they’re super easy to clean afterward. And here’s a bonus tip: line your pan with parchment paper to keep the fudge from sticking and make cleanup even simpler!
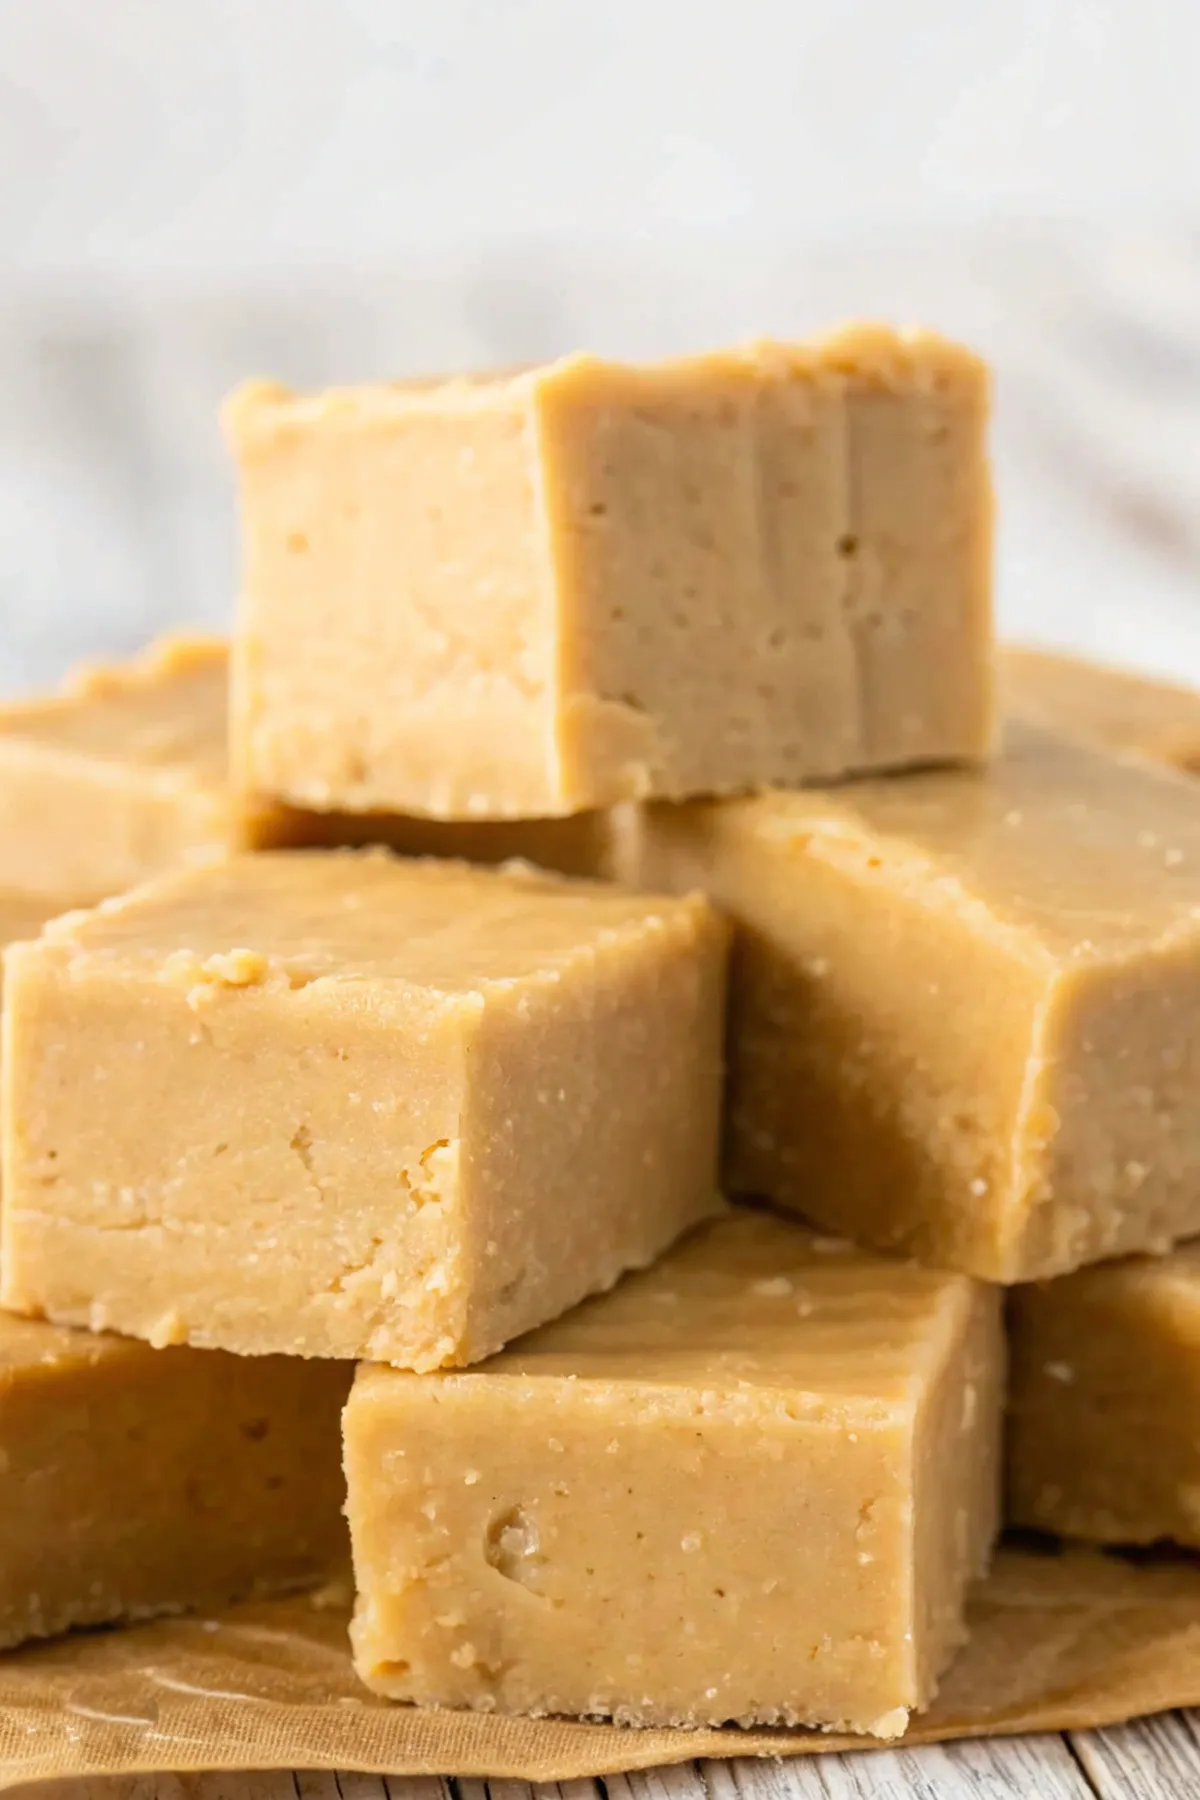
More About 3-Ingredient Peanut Butter Fudge
If you’re like me and always looking for quick dessert ideas, 3-ingredient peanut butter fudge is a recipe you’ll keep coming back to. It’s not just the simplicity that makes it a winner—it’s also incredibly versatile. You can dress it up for holidays, add festive toppings, or keep it plain for everyday snacking. No matter how you slice it (pun intended), it’s always a hit.
Can You Really Make Fudge Without Cooking?
Absolutely! That is the beauty of this recipe. Traditional fudge requires boiling sugar, monitoring temperatures and hoping not to end up with an unappetizing mess; but with this 3-ingredient version there’s no guesswork involved: everything melts smoothly together either in a microwave or over gentle heat allowing even novice cooks to master it right from their first attempt!
Why This Recipe Is Perfect for Busy Lifestyles
Let’s be real—most of us don’t have hours to spend in the kitchen, especially during busy seasons like the holidays. That’s why this 3-ingredient peanut butter fudge is a lifesaver. You can prep it in minutes, let it chill while you tackle other tasks, and have a homemade treat ready in no time. Whether you’re juggling work, family, or last-minute gatherings, this recipe keeps stress levels low and satisfaction high.
Make It Ahead for Any Occasion
One of the best things about this recipe is how well it stores. You can make the fudge a few days in advance, which is perfect if you’re hosting a party or need a go-to treat for the week. Just cut it into squares and keep it in an airtight container in the fridge.
Pro tip: Layer the pieces with parchment paper to prevent sticking!
Kid-Friendly and Fun to Make
This fudge recipe is not only simple; it’s also perfect for kids! They’ll enjoy stirring the ingredients together, pouring the mixture into the pan and decorating their masterpiece with various toppings – not to mention its no-stove design and use of non-sharp tools that won’t harm little hands while cooking! Just prepare for sticky fingers!
Pairing Ideas for Peanut Butter Fudge
Peanut butter fudge is delicious on its own, but why stop there? Here are a few ideas to elevate your dessert game:
- Serve with Coffee or Hot Cocoa: The creamy sweetness of the fudge pairs beautifully with a warm drink.
- Add to a Dessert Platter: Combine with cookies, brownies, or truffles for an impressive spread.
- Use It as a Topping: Crumble pieces of fudge over vanilla ice cream for a decadent twist.
The Peanut Butter Fudge Legacy
Did you know fudge has been around for over a century? Traditional recipes date back to the late 1800s, but innovations like this 3-ingredient peanut butter version have made it more accessible than ever. What once required skill and patience is now an easy, no-fail dessert anyone can enjoy.
FAQs About 3-Ingredient Peanut Butter Fudge
How Long Can Peanut Butter Fudge Be Stored?
Peanut butter fudge is one of those desserts that keeps surprisingly well, making it a great option for meal prepping or gifting. When stored properly, it can last up to 2 weeks in the refrigerator or even longer if frozen. The key is to keep it in an airtight container to prevent it from drying out or absorbing other flavors from the fridge. If you’re planning to store it for longer, freezing is your best bet. Just wrap the fudge tightly in plastic wrap, place it in a freezer-safe bag or container, and it’ll stay good for up to 3 months.
How Long Does Peanut Butter Fudge Last at Room Temperature?
Peanut butter fudge can last at room temperature for 3 to 5 days, provided it’s stored in a cool, dry place and kept in an airtight container. However, if you live in a warm or humid area, it’s better to refrigerate it to prevent the fudge from becoming too soft or melting. Room temperature storage is great for short-term use, like keeping a batch out on the counter for family to grab throughout the week.
How Long Does Peanut Butter Fudge Last Overall?
Summary: At Room Temperature (in a cool and dry location) these should last 3 – 5 days while in the Refrigerator (2 weeks, if sealed tightly).
Refrigerator Storage: Up to three months when properly wrapped and stored.
It is wise to check regularly for signs of spoilage such as changes in texture or smell before serving fudge; though its delicious taste usually means it doesn’t last very long!
Final Thoughts
This 3-ingredient peanut butter fudge is pure magic. It’s quick, easy, and crazy delicious—a trifecta that’s hard to beat. Whether you’re a seasoned home cook or just getting started, this recipe is one you’ll want to save (and share) for years to come.
So, what are you waiting for? Grab your ingredients, whip up a batch, and prepare for the compliments to roll in. And hey, if you sneak a few pieces before sharing, your secret’s safe with me.
Print3-Ingredient Peanut Butter Fudge: The Easiest, Creamiest Dessert You’ll Ever Make
peanut butter fudge made with just three simple ingredients is here! Whether it’s time for a party, midnight snacks or simply needing something no-bake and foolproof this recipe has your back covered.
- Prep Time: 5 minutes
- chilling time: 2 hours
- Cook Time: 5 minutes
- Total Time: 2 hours 10 minutes
- Yield: 16 squares
- Category: Dessert
- Method: No-Bake
- Cuisine: American
Ingredients
- Peanut Butter: Creamy peanut butter works best here. It gives the fudge that rich, nutty flavor and smooth texture. Natural peanut butter can work too, but you might need to adjust the sweetness.
- Sweetened Condensed Milk: This is your secret weapon. It adds sweetness and helps the fudge set perfectly without a ton of extra work.
- White Chocolate Chips: These melt down beautifully and blend seamlessly with the other ingredients to give your fudge structure and flavor.
Instructions
- Melt the Ingredients
Combine the white chocolate chips with sweetened condensed milk in a microwave at 20-second intervals, stirring between each, until your mixture is smooth and fully melted.
- Melt the Ingredients
- Add the Peanut Butter
Stir in the peanut butter while the mixture is still warm. Keep mixing until everything is fully combined, and you’re left with a creamy, luscious batter.
- Add the Peanut Butter
- Pour and Chill
Pour the mixture into a baking dish. Smooth the top with a spatula, then pop it in the fridge for at least 2 hours to set.
- Pour and Chill
- Slice and Serve
Once the fudge is firm, lift it out of the dish using the parchment paper, slice it into squares, and dig in!
- Slice and Serve
Notes
- Use Fresh Peanut Butter: Stale peanut butter can affect the flavor. Go for a jar that’s recently opened for the best taste.
- Don’t Overheat: When melting the chocolate and condensed milk, low and slow is key. Overheating can cause the mixture to seize up.
- Line Your Pan: Trust me, lining your dish with parchment paper makes cleanup a breeze. Plus, it’s so much easier to lift the fudge out for slicing.
Nutrition
- Serving Size: 1 square
- Calories: 180
- Sugar: 18g
- Fat: 9g
- Carbohydrates: 22g
- Fiber: 1g
- Protein: 4g
Keywords: 3-ingredient peanut butter fudge, peanut butter fudge, No-bake peanut butter fudge


2 thoughts on “3-Ingredient Peanut Butter Fudge”